
AirDrop is an exclusive feature available only to Apple iOS, iPadOS, and macOS. Most Apple users choose AirDrop to transfer files because it is easy and simple without the need for the internet. However, while utilizing the AirDrop feature, you may encounter some problems. One of the most common problems many Apple users have faced recently is “AirDrop Failed to Save Item.”
However, you may encounter error messages mainly while transferring large files or multiple files across Apple devices. This issue is not faced frequently, and it may occur once in a while.
But it is important to know the causes and fixes when you get the “AirDrop Failed to Save Item” error message. Here are some proven troubleshooting methods to fix the error message on your iPhone, iPad, and Mac.
Reasons for AirDrop failed to Save Item
There are various for the AirDrop to malfunction on your Apple devices. Some of the common causes are:
- WiFi or Bluetooth is turned off
- Outdated system software
- Disabled AirDrop
- System glitches
- Improper AirDrop settings
Troubleshooting Methods for AirDrop Failed to Save Item
We have tried and listed the various troubleshooting methods to fix the AirDrop failed same item issue on your iPhone, iPad, and Mac.
Restart Your Apple Device
Before executing complicated methods, sometimes a simple restart will fix the AirDrop issue on your iPhone, iPad, and Mac.
Restart iPhone/iPad
1. Press and hold the Volume and Volume Up buttons simultaneously until the slider appears. For iPhones with the Home button, just press and hold the Power button.
2. Drag the slider to the right.
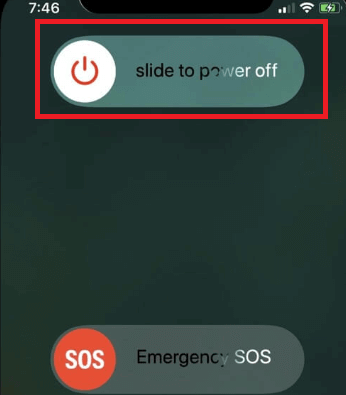
3. Your iPhone will turn off.
4. Press and hold the side button for 30 seconds until the Apple logo appears.
Restart Mac
1. Unlock your Mac and click the Apple menu in the top left corner of the screen.
2. From the drop-down menu, click Restart.
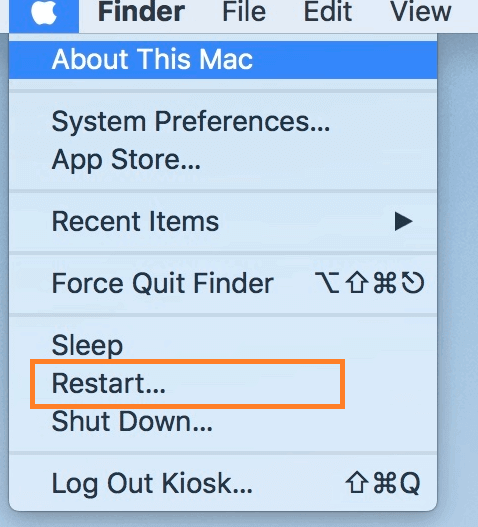
3. Confirm the process and restart your MacBook or iMac.
After a successful restart, you can try AirDropping a file from your MacBook to other Apple devices.
Check the Storage on Apple Devices
AirDrop transfer will automatically fail or decline if your device does not have enough storage. So check if your iPad or iPhone for storage if AirDrop failed to save the item
Check Storage on iPhone/iPad
1. Open the Settings app on your iPhone/iPad.
2. Click on General and then iPhone storage.
3. Now, you can see the available storage and what is consuming it the most.
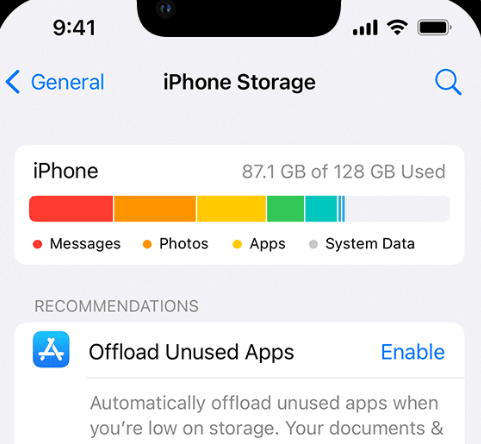
4. Review the item and delete unwanted files to free up storage.
Check Storage on Mac
1. Click the Apple logo at the top left and select System Settings.
2. Click on General on the sidebar.
3. Head to the Storage option.
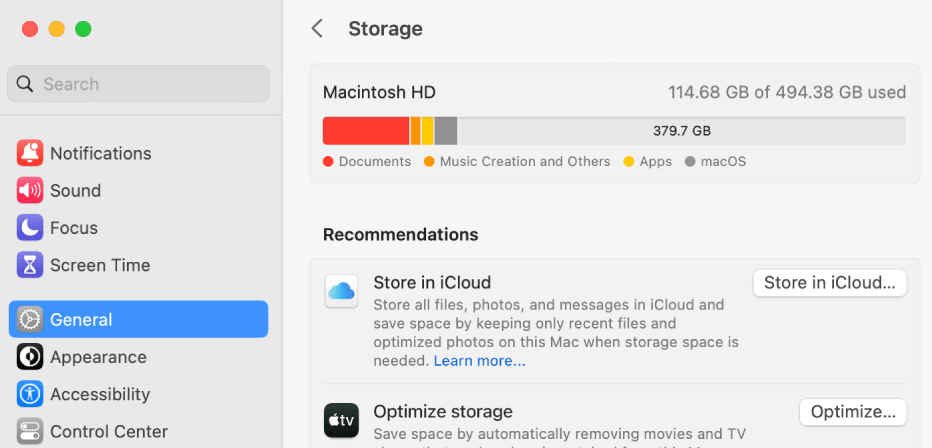
4. Check for free space.
5. If there’s insufficient storage on your Mac, then free up the space by deleting unwanted files and applications.
Check the Screen Timing
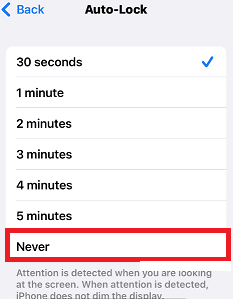
While transferring large files from your iPhone to another iPhone, you must keep the devices awake until a successful transfer. For that, you must switch the Auto-Lock option to 5 Minutes or Never.
Extend Screen Time On iPhone/iPad
1. Head to Settings.
2. Select Display and Brightness.
3. Click Auto Lock.
4. Choose Never from the options.
Exeed Screen Time on Mac
1. Head to System Preference on Mac.
2. Then select the Battery option.
3. On the Turn Off Display After, change the option to Never.
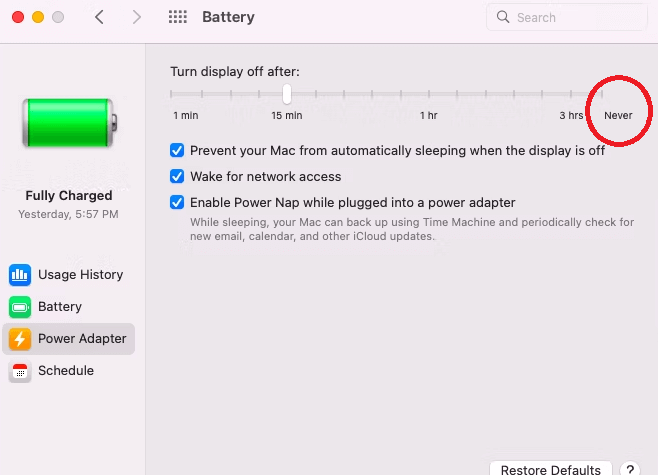
After extending the screen time on your MacBook, you can proceed with AirDropping a file to iPhone, iPad, and Mac.
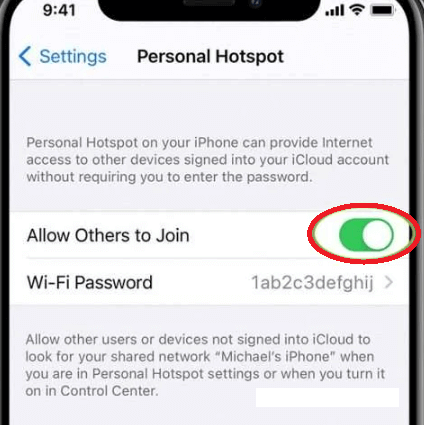
Turn Off Personal Hotspot
If the AirDrop and personal hotspot are turned on simultaneously, you can face issues while AirDroping a file, which leads to the AirDrop failing to save the item issue. So, disable the personal hotspot on your iPhone to continue with the transfer process.
1. Head to the Settings app on your iPhone.
2. Click the Personal Hotspot option.
3. Disable the Allow Others to Join option.
If you’re using an iPad with a cellular variant, you can follow the same procedure to disable personal hotspot.
Disable and Enable WiFi and Bluetooth
If the AirDrop failed to save item even though the WiFi and Bluetooth are enabled, it may be a software glitch. So, you can restart the network just by disabling and enabling it back.
Disable and enable WiFi/Bluetooth on iPhone
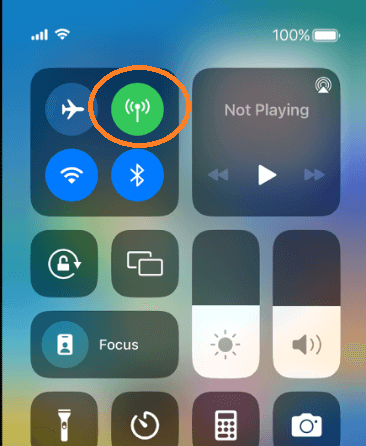
1. Open the Control Center on your iPhone or iPad
2. Locate the Network pane.
3. After that, disable the WiFi and Bluetooth option separately.
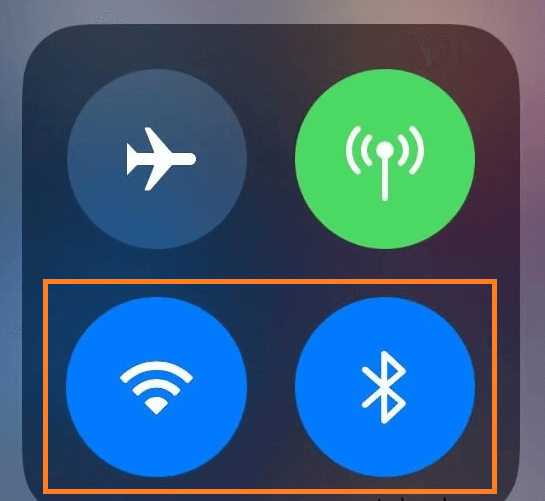
4. After a few seconds, enable WiFi and Bluetooth again to fix the issue.
Note: WiFi is not necessary to AirDrop a file from one device to another. So, you can even disable the WiFi feature while AirDropping a file.
Disable and enable WiFi/Bluetooth on Mac
1. Head to the Control Center on the top right corner of your MacBook.
2. Make sure both Bluetooth and WiFi are turned on.

Update the Device’s Software
You can also face certain errors if the device runs on outdated software. In such cases, you can update the format to the latest version to fix the issue.
Update iPhone/iPad
1. Head to the Settings app on your iPhone or iPad.
2. Select General and then Software Update.
3. If you see any available software updated, click Download and Install.
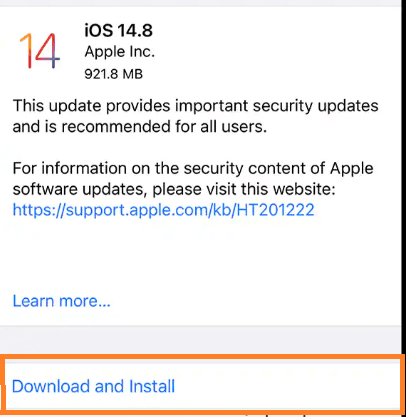
4. After that, enter the device’s passcode to start installing the update.
Update the Mac
1. Launch your Mac device and click on Apple Menu
2. Click System Settings from the drop-down menu.
2. Click General on the life side menu and then Software Update on the right side.
3. Click on Upgrade now or Restart now.

After a successful update, you can try transferring your photos, files, and videos via AirDrop.
Turn Off Mobile Data
Many users stated that turning off their mobile data helped with their AirDrop fixes.
1. Open Control Center on your iPhone or iPad by swiping down from the top right corner.
2. Tap on the Mobile data icon to turn it off.
Check AirDrop Restrictions
There is also a chance that you might have blocked AirDrop in Content and Privacy restrictions. So, navigate the settings menu and enable the AirDrop restriction.
Enable AirDrop Restriction on iPhone/iPad
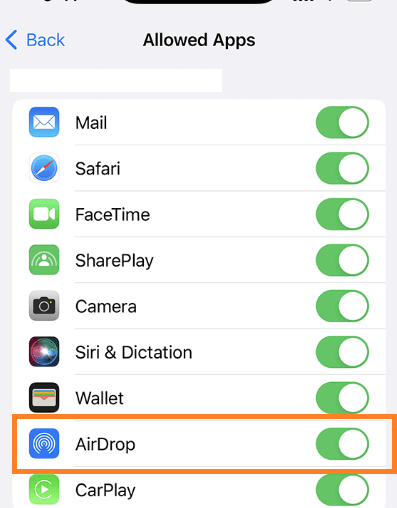
1. Go to the Settings app on your iPhone or iPad.
2. Select Screen Time and then Content Privacy Restrictions.
4. On the list of apps, find AirDrop and toggle the AirDrop button to the right.
After enabling the restrictions, try AirDropping photos, videos, and other files from your Apple devices.
Enable AirDrop Restriction on Mac
1. Head to System settings from the Apple menu.
2. Click on Screen Time from the left.
3. Select App restrictions.
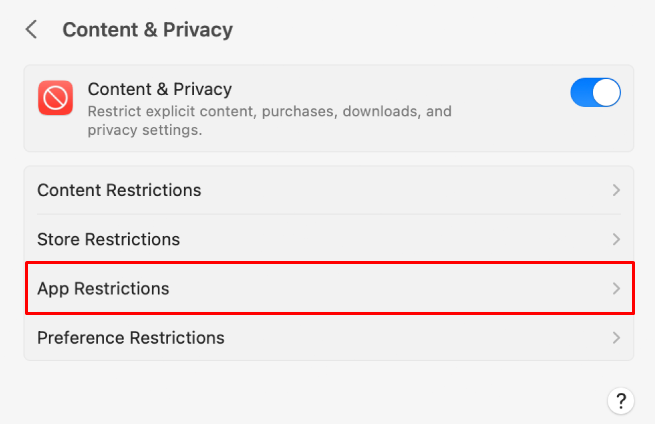
4. Scroll down and click on the toggle next to AirDrop to enable it.
5. Finally, click Done at the bottom.
Turn Off Do Not Disturb Mode
Your device might not receive transfer requests from AirDrop if the Do Not Disturb mode is turned on. So if AirDrop fails to save an item on Mac, try turning off DND mode and try AirDropping files.
Disable DND on iPhone/iPad
1. Open Control Center on iPhone/iPad.
2. Tap and hold the Focus icon.
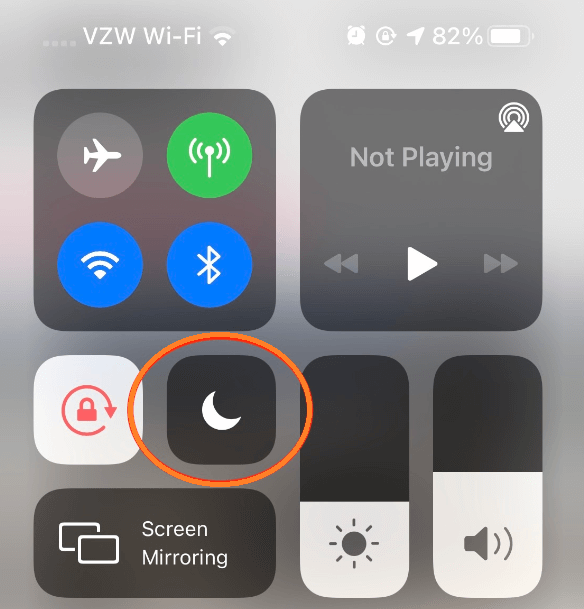
3. Turn off the Do Not Disturb mode.
Disable DND on Mac
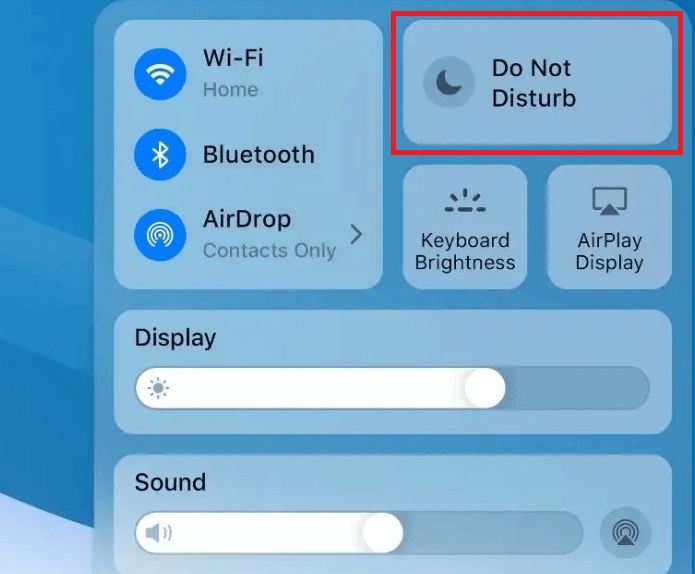
1. Open Control Center on Mac.
2. Turn off Do Not Disturb Mode with the moon icon.
Reset Network Settings
If none of the above-mentioned steps helps you to fix the issue, you can opt for resetting the network settings on your Apple devices.
Reset Network Settings on iPhone/iPad
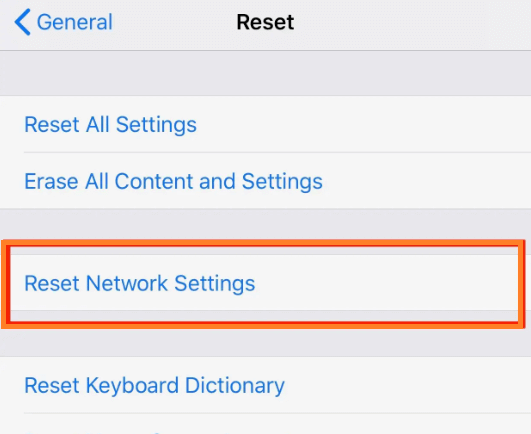
1. Go to settings on your iPhone.
2. Select the General option and tap on Transfer or Reset iPhone.
3. Choose the Reset option.
4. Then click on Reset Network Settings.
Reset Network Settings on Mac
1. Click the Apple menu and select System Preferences.
2. Tap on Network.
3. Select your WiFi connection from the list and tap on the minus icon to remove the connection.
4. Tap on the Add icon to re-add your WiFi connection.
FAQ
There are various reasons why AirDrop is not working. Some of the common reasons are disabled Bluetooth, system bugs, and network errors.
If your AirDrop failed to save item even after following the above troubleshooting guide, then try saving the files to your iCloud drive instead. Then, you can log in to your iCloud account from any Apple device and download the desired file.
If AirDrop failed to save mp4 then you need to select H.265 format and deselect the HEVC box.